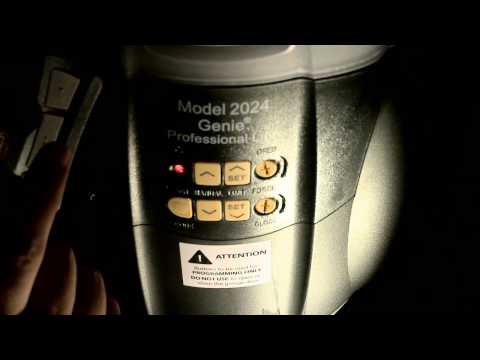
In this short video, we will cover how to successfully program the Genie garage door opener models 1020 to 1024, 1040 to 2020, 2024, and 2040. Before we begin programming, it is important to follow all instructions in the installation and operations manual included with the unit. To properly assemble and install the power head and rail, as well as install the safety beam system and associated wiring, please refer to the installation manual instructions. Additionally, hang and wire the wall control provided and plug the unit into an electrical outlet as per the installation manual. Ensuring that the chain or belt connector is engaged into the carriage assembly is vital. To do this, manually raise the door to engage the opener carriage to the chain bail bullet. Make sure the carriage is engaged before proceeding to the next step. To begin setting the limits, press the close travel limit button, which is pointing towards the garage door, to move the door into the closed position. If needed, you may use the other arrow button to raise the door to reach the desired position. Then, press and hold the close-set limit button until you see one long green blink or for five seconds. Although you have already set the down limit, the LED will continue to blink three consecutive green blinks, indicating that the limit setting has not been completed. Use the open travel limit button, which is pointing away from the garage door, to lift the door into the desired up position. If needed, you may use the down arrow button to lower the door. Then, press and hold the open set limit button until the LED light blinks green twice or for five seconds. Once you have completed this step, the LED light should no longer blink. It is important to set the...
Award-winning PDF software


1024-a Form: What You Should Know
Apr 19, 2025 — Beginning April 19, 2021, the IRS will make a single IRS electronic version of the Application for Recognition of Exemption Form 1024-A that all Organizations seeking to be exempt from federal tax, under section 501(c)(4), and who have made such applications in the previous calendar year. Form 1024-A. (January 2025 and January 2019) In the year immediately preceding the date of filing Form 1024-A, organizations were required to file Form 26-1, Application to Approve Certain Activities, with their state tax agency. For organizations who are filing Forms 26-1 or who are filing an amended version of their Form 26-1, see Organizations who are filing Form 26-1 who did not attach a Form 26-1 to their previous Form 2520-B, Application for Recognition and Exemption Under section 501(c)(4) of the Internal Revenue Code are able to request the adoption of Forms 890-EZ, Application to File Exemption Statement, as long as the Forms are dated at least 60 days before the date such form may become effective. The IRS is able to process applications for amendments to Form 2520-B prior to the original date it becomes effective. The Form 890. (October 2014) Form 890-EZ. (October 2011), Form 2520-B (April 2014) Form 2520-B in which you have reissued the forms 2520-B and 2520-C with amended information. The Organizations applying for recognition may file Form 890-EZ electronically using a .pdf form. Form 890-EZ (December 2014). The IRS uses Form 2520-B to determine exemptions for the organization in question as described in Form 2520-B, Application to Recognize Exemption under Section 501(c)(4), and Form 1024-A as detailed above. Form 2520-B as well as form (filed on Form 1024-A) must comply with the following requirements: (1) The Form 2520-B must be a duly executed “Amendment of Form 2520” (Form 890-EZ) and the Form 890-EZ must be filed with each individual filing Form 1024-A.
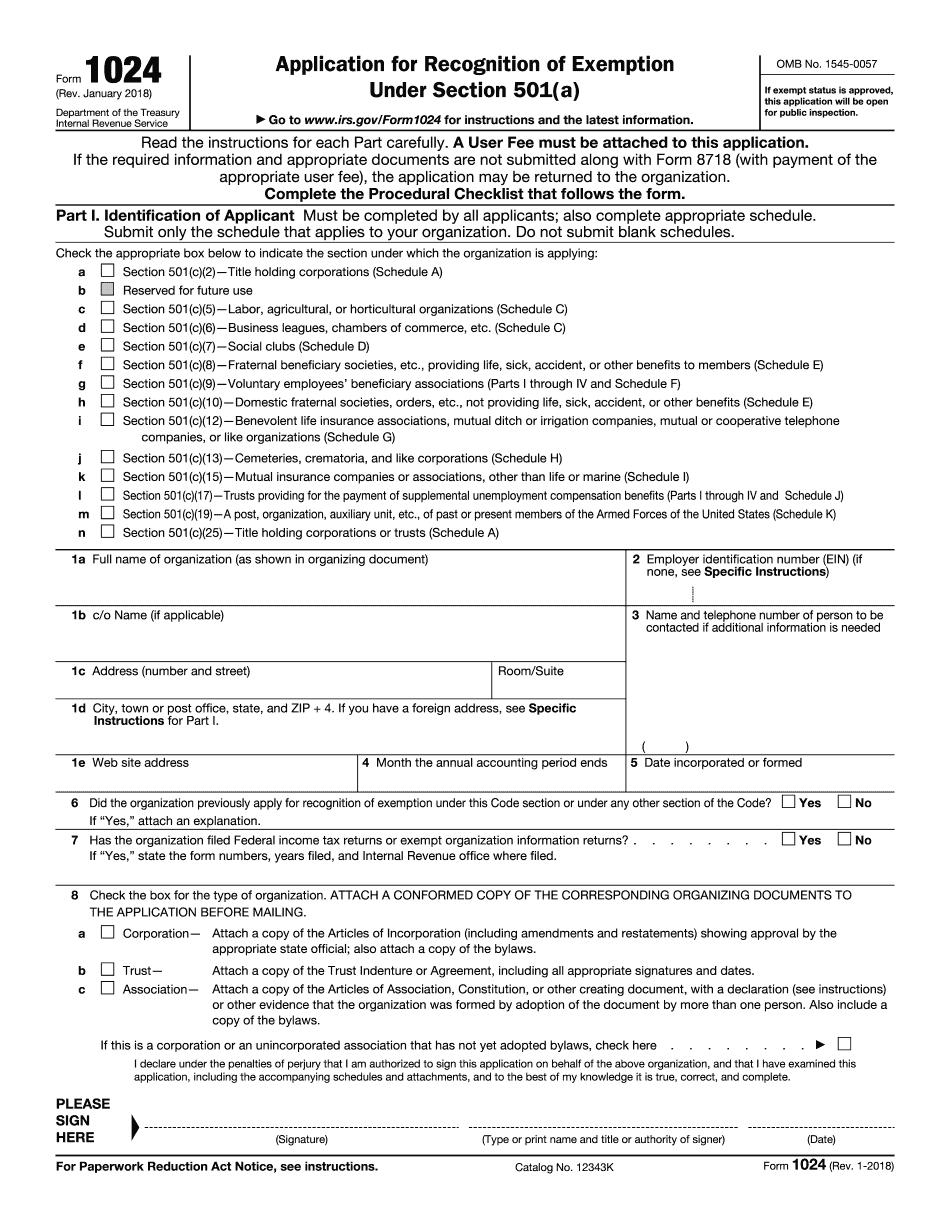
online solutions help you to manage your record administration along with raise the efficiency of the workflows. Stick to the fast guide to do Form 1024, steer clear of blunders along with furnish it in a timely manner:
How to complete any Form 1024 Online: - On the site with all the document, click on Begin immediately along with complete for the editor.
- Use your indications to submit established track record areas.
- Add your own info and speak to data.
- Make sure that you enter correct details and numbers throughout suitable areas.
- Very carefully confirm the content of the form as well as grammar along with punctuational.
- Navigate to Support area when you have questions or perhaps handle our assistance team.
- Place an electronic digital unique in your Form 1024 by using Sign Device.
- After the form is fully gone, media Completed.
- Deliver the particular prepared document by way of electronic mail or facsimile, art print it out or perhaps reduce the gadget.
PDF editor permits you to help make changes to your Form 1024 from the internet connected gadget, personalize it based on your requirements, indicator this in electronic format and also disperse differently.
Video instructions and help with filling out and completing Form 1024-a